Set up a Viva Glint Exit survey
Together, Microsoft Viva Glint refers to Onboarding and Exit surveys as Employee Lifecycle surveys. Viva Glint Exit surveys help organizations understand the reasons that employees voluntarily leave. These reasons can range from career advancement opportunities elsewhere to dissatisfaction with their work environment.
Recommended cadence and tips for Exit surveys
Send Exit surveys for voluntary terminations as soon as possible so that users can access survey invites from their work email address.
- Exit survey Distribution List date ranges are relative to the termination date that your organization includes in data uploaded to Viva Glint.
- Choose to have Exit Surveys go to a company email or both a company and personal email.
- If you use Company Email Address, set the date range from 14 days before the Termination Date to 1 day after.
- If you use Company email + Personal email, set the date range from 14 days before termination date to 30 days after.
Learn more about using date-based Distribution Lists.
Survey access methods
If your organization plans to include inactive users in Exit Distribution Lists, use survey access methods that allow inactive users to respond to surveys:
How to set up an Exit survey
From the admin dashboard, select Configuration.
In the Surveys section, select Survey Programs.
Select + New Program.
Choose a survey template or start with a blank template in the Lifecycle section.
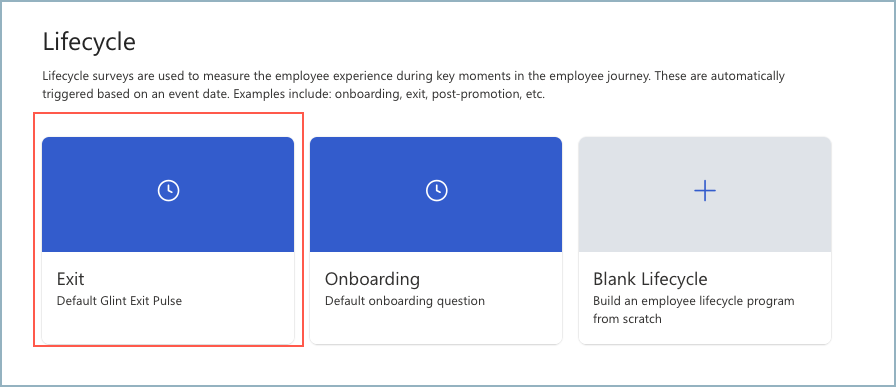
Hover over a template and select Create Program.
After creating a new survey program from a template, follow the guidance listed for each section of your Exit survey setup.

Setup section Description 
Program Setup Define basics like languages, optional features, and confidentiality settings. 
Distribution Select Distribution Lists or User Roles to include in or exclude from the survey invite list. 
Questions Add survey introduction text, select questions, and add a survey thank you message. 
Reporting Define which roles have access to this survey's results and determine key reporting views. 
Communications Set a schedule and customize content for survey invites, reminders, and survey results notification emails. 
Coaching Confirm or customize content that helps users interpret results on their dashboards. Note
The attribute that your organization includes as a termination date in uploaded data may have a different label, like "Leave Date." Select the date that should trigger Exit surveys in the Distribution section of your survey.
Preview your survey after completing each setup section.
Review survey setup before survey launch.