Set up and manage Viva Glint Distribution Lists
Microsoft Viva Glint Distribution Lists define which employees in your organization are eligible for a survey. Refine lists using employee attributes uploaded to Viva Glint, upload a file of users, use date-based lists, and edit or delete lists over time.
Note
To set up Distribution Lists, complete attribute setup and upload data to the Viva Glint system.
Set up a Distribution List
To set up a new Distribution List:
Select Configuration and in the Employees section select Distribution Lists. The Distribution List page displays all existing lists and their number of members.
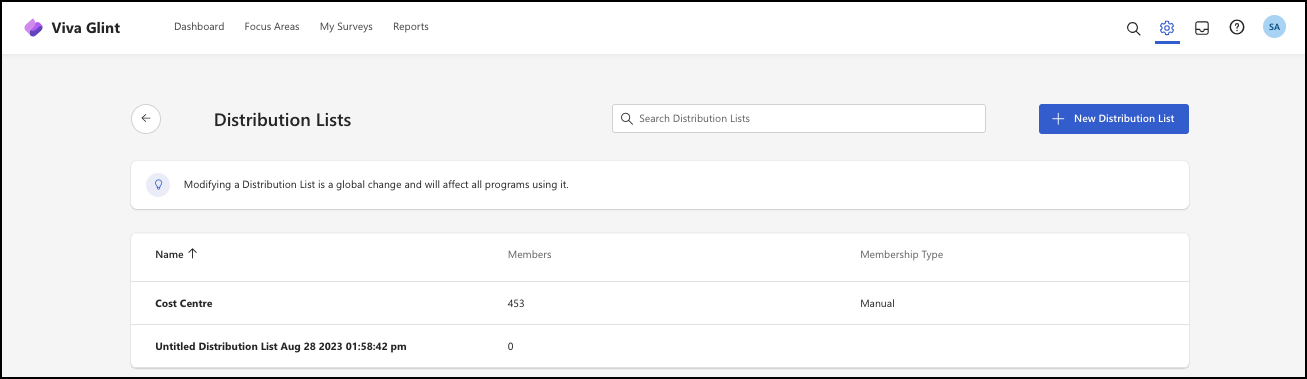
Select + New Distribution List.
To replace the "Untitled Distribution List...," add a unique name to the list default name. If another list already uses that name, an error message appears.
Add users to a Distribution List
There are multiple ways for Viva Glint Admins to add users to a list, including:
- Attribute rules that automatically add users based on employee data imported to Viva Glint
- Search and select individual users
- File imports to add multiple users that don't share an attribute value
- A blended approach that combines attribute rules and the search + add feature
Use attribute rules to add users
To automatically add users to a list based on their attribute values in data imported to Viva Glint:
- Select Configuration and in the Employees section select Distribution Lists.
- Select the list that should have an attribute rule added.
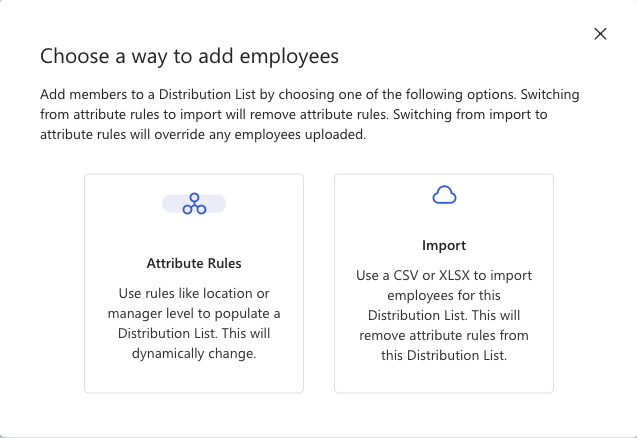
- Select Add/Edit Employees and in the Choose a way to add employees dialog, select Attribute Rules.
- In the Add Attribute Rules edit pane that appears:
Select I want to filter all active employees by these populations: to include active users only.
Select + New Population and then + Add Filters.
Choose attributes and values to include employees who match this data in your imported employee files.
Tip
For an Exit survey, enable Include Inactive Employees and consider contacting them via their personal email.
To exclude users, hover over their name in the Included section and select Exclude.
To remove someone from the Excluded list, hover over their name in the Excluded section and select Remove.
- Confirm your list and select Save Changes.
Add users manually
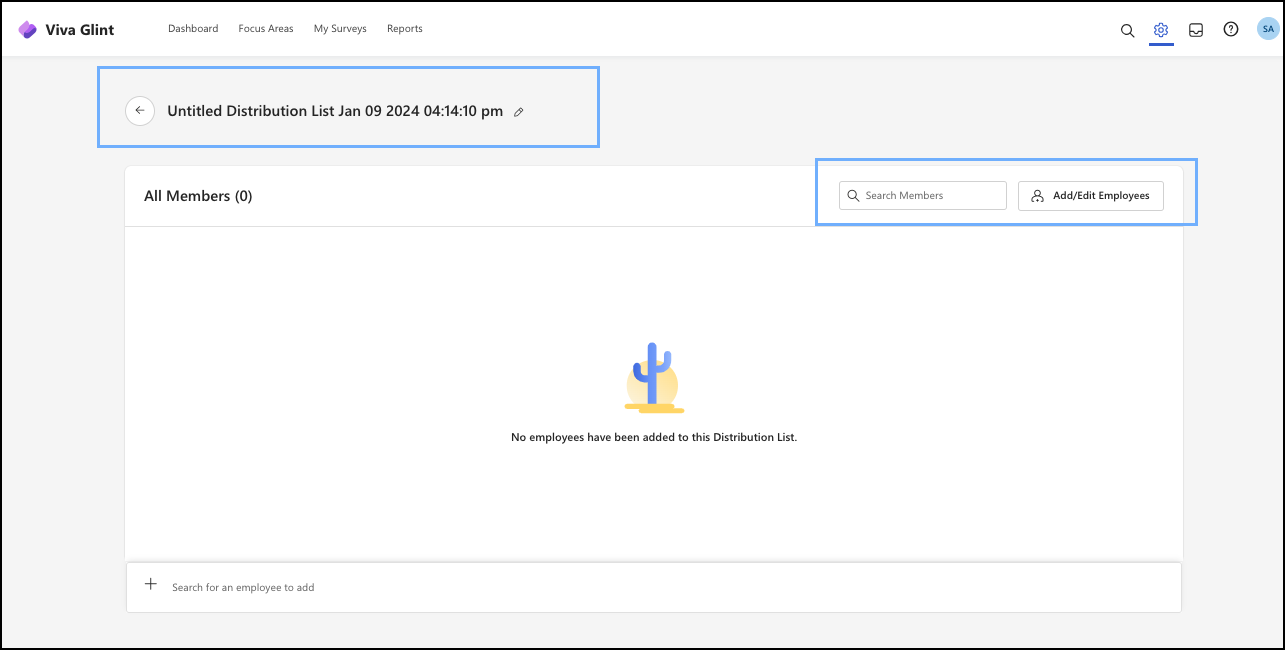
Add individual users with the + Search for an employee to add feature or import a file of users to update a list in bulk.
Search for and add individual users
To manually add individual users:
- Select Configuration and then choose Distribution Lists.
- Select the Distribution List that you need to add employees to.
- Enter a name or email address in the + Search for an employee to add field at the bottom of the list.
- Select the user from search results to add them to the list.
Import users
Caution
Importing users to an attribute rule-base list removes attribute rules from the list.
To import a file of users to a list:
From the admin dashboard, select Configuration and then choose Distribution Lists.
Select the Distribution List that you need to add employees to.
Select Add/Edit Employees.
From the Choose a way to add employees dialog, select Import.
In the Import employees to distribution list dialog, select Download CSV in the Download your current employee list to modify section.
Use the downloaded file as a template and add employee email addresses in the email column. Include the header row, which is labeled differently when there are or aren't users in the list. Both column labels import successfully:
- The header row label in the template file is email when there are already users in the Distribution List.
- The header row label in the template file is Employee Email when there are no users in the Distribution List.
After adding all email address values, save the file as .csv or .xlsx.
In the Import employees to distribution list dialog, drag and drop or browse to choose the file (maximum size 550 MB, maximum row count 10,000).
To keep any existing users in the list, select Preserve the employees already in the distribution list.
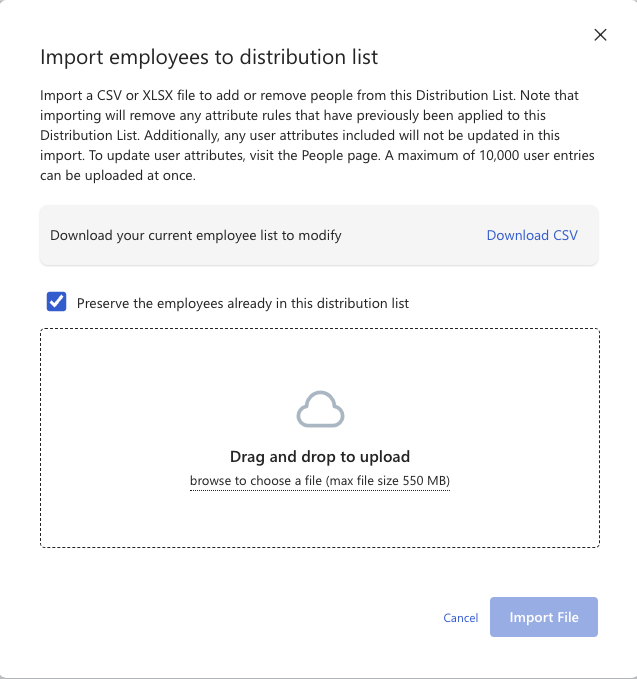
Select Import File.
The Confirm your import window displays. If the correct number of employees to be added and removed are correct, select Confirm Import.
Export users
From the admin dashboard, select Configuration and then choose Distribution Lists.
Select the Distribution List that you need to add employees to.
Select Add/Edit Employees.
From the Choose a way to add employees dialog, select Import.
In the Import employees to distribution list dialog, select Download CSV in the Download your current employee list to modify section.
Use a blended approach to add users
If your organization needs to add most users to a list based on attribute rules, but also needs to add a few users manually, consider a blended approach.
- Set up a new list and add an attribute rule for it.
- When users need to be added manually, add them with the Search and add user feature in the list.
- The Membership Type in Distribution Lists shows as "Attribute Rules, Manual."
Caution
Importing users to an attribute rule-base list removes attribute rules from the list. Use only the Search and add feature to manually add users to a list that uses a blended membership method.
Use date-based lists
Viva Glint Employee Lifecycle surveys use exit and hire dates in your employee data to automatically trigger Exit and Onboarding surveys. Use date-based distribution lists to include all eligible users based on ranges of dates tied to exit and hire date information.
To set up a date-based list:
- Set up a list
- Use attribute rules to add users
- Select a date attribute, usually exit or hire date
- Select a day range related to the date that employees are eligible.
- When selecting days before and after a date, consider:
- How often your organization uploads employee data
- How quickly new and termed employee data is updated in your HR information system
- The Response Window in a survey's Program Setup (the number of days a user has to complete a survey, usually 14 days)
For example, to ensure that users have enough time to respond to a 30-day onboarding survey, a Viva Glint Admin can choose to make users eligible 30 days to 50 days after their hire date. This setup allows users to receive invites and respond with enough time based on this organization's bi-monthly import of employee data.

View how a list is populated
On the Distribution Lists page, the Membership Type column defines if that list is populated manually, by attribute rules, or both.
- Attribute Rules: The list uses attribute rules to add users based on their attribute values in imported employee data
- Manual: The list uses a file of users imported to the list or the Search and add user feature to add new users
- Attribute Rules, Manual: The list uses attribute rules and the Search and add user feature to add users.
Edit a list
Editing a Distribution List is a global change and affects any program using that list. To modify:
- Select the Distribution List you want to modify.
- Select Add/Edit Employees or Edit Attribute Rules if there are filters available.
- Make the necessary changes and select Save Changes.
Delete a list
Viva Glint Admins can delete lists by hovering over the list and selecting the Delete option. A Delete Distribution List dialog opens with a list of survey programs that use the list.
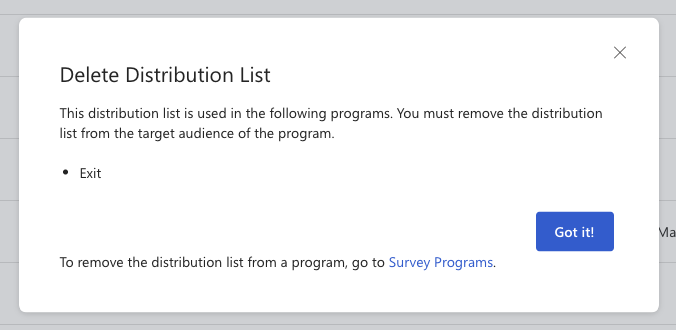
To delete the Distribution List, remove it from the Distribution section of the program.
Select Configuration and then select Survey Programs.
Select the survey.
Select Distribution and remove the list.
Repeat this process for all survey programs that use the list.
Return to Distribution Lists and select the Delete option for the list.
In the Are you sure? dialog that appears, select Yes, I'm sure.
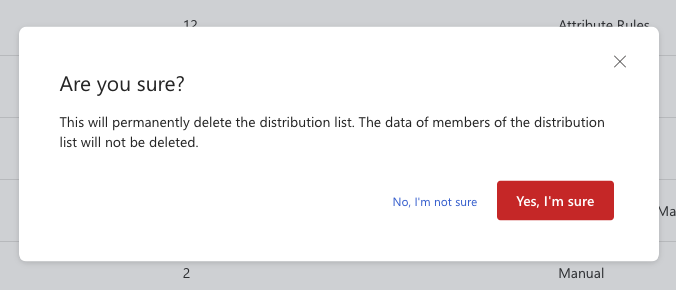
Important
Deleting a Distribution List is a permanent action. The data of the members of that list isn't deleted.