Manage billing
Azure DevOps Services
Setting up billing in Azure DevOps is essential for managing costs associated with users, CI/CD concurrency, and extensions. This article guides you through the process to set up billing, change your Azure subscription, remove your billing subscription, and give a user access to manage billing.
All services are billed via Azure. You're not required to use any other Azure services.
Important
- When you remove the billing subscription from your organization, any paid quantities for the following types of users go back to the free tier of service immediately:
- Basic
- Azure Artifacts
- Azure Test Plans
- Microsoft-hosted CI/CD
- Self-hosted CI/CD
- Before you delete your organization resource in the Azure portal, ensure you changed the billing subscription. Deleting the resource before this change might result in reverting to the free tier of service for your organization. For more information, see Billing FAQs.
- When billing gets canceled or changed, a resource group gets left behind in the old Azure subscription. It's safe to delete these resource groups if empty. These resource groups take the naming format,
VisualStudioOnline-<DEVOPS-ORG-HOSTID-WITHOUT-DASHES>.
Prerequisites
| Category | Requirements |
|---|---|
| Permissions | - Member of the Project Collection Administrators group. Organization owners are automatically members of this group. - To give another user access to manage billing: Azure Account Administrator. - To change your organization's billing subscription: - Project Collection Administrators group. Organization owners are automatically members of this group. - Owner or Contributor permission for the Azure subscription, which you can use to purchase. |
| Subscription | An Azure subscription. |
Note
Azure DevOps doesn't support the Azure Free Trial.
Set up billing for your organization
Set up billing in Azure DevOps before making any purchases. This is a one-time setup per organization. Once you select an Azure subscription for billing, you can add users and assign licenses.
Sign in to your organization (
https://dev.azure.com/{Your_Organization}).Select
 Organization settings.
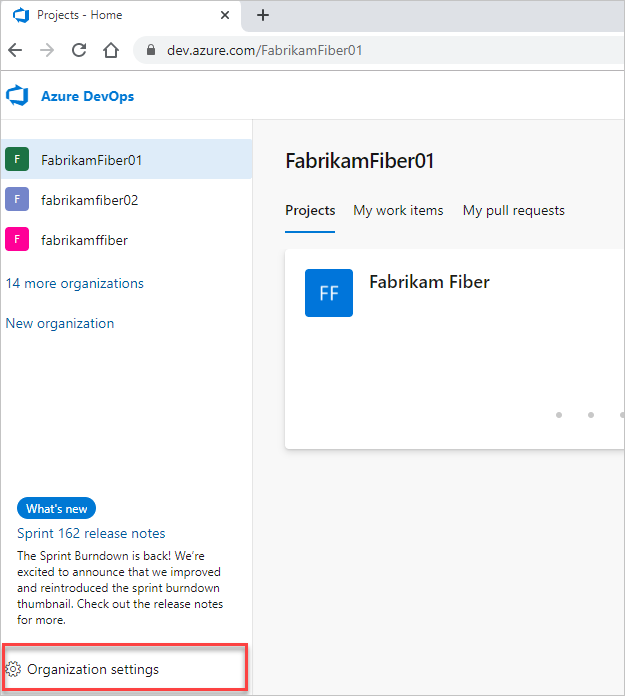
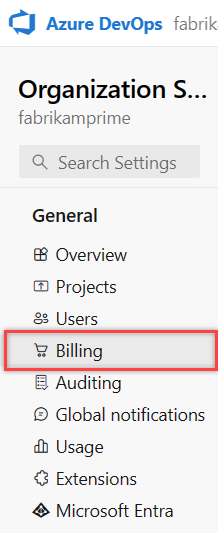
Select Billing.
Select Set up billing.
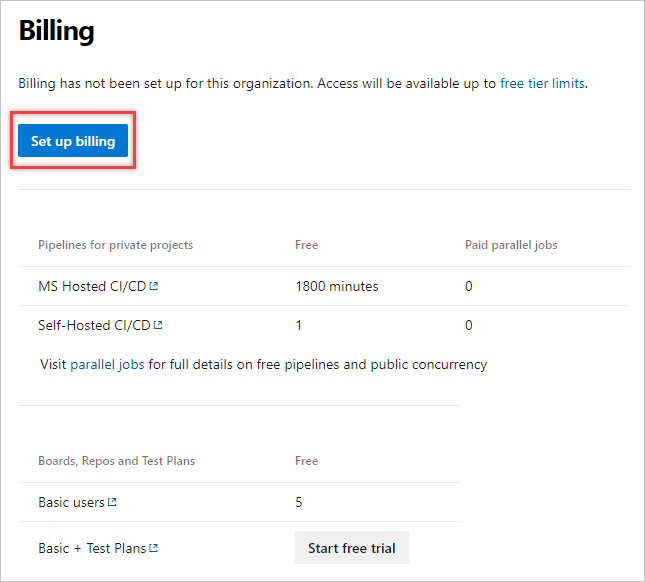
Select your Azure subscription, and then select Save.

Tip
If your desired Azure Subscription doesn't display, it’s likely because the Azure subscription you’re trying to use is tied to a different Microsoft Entra ID tenant than the one you use to access your Azure DevOps organization. Do the following steps to ensure this Azure Subscription shows when you're configuring billing:
- Go directly to your profile (
https://aex.dev.azure.com/). - From the dropdown menu, select the Microsoft Entra ID tenant tied to the Azure Subscription you want to use for billing.
- Sign in to your organization (
https://dev.azure.com/{Your_Organization}). - Select Organization settings > Billing> Set up billing. The subscription should display.
Billing is set up for your Azure DevOps organization. You can review your individual Azure subscription bill at any time.
Change your billing subscription
You might need to change the Azure subscription for your Azure DevOps organization's billing if the subscription is linked to a former user. Consider switching to a shared subscription or removing the billing arrangement. You can remove your billing subscription anytime. Migrating between resource groups isn't supported.
Sign in to your organization (
https://dev.azure.com/{yourorganization}).Select
Organization settings.
Select Billing > Change billing. If you don't see the Change billing button, you don't have the right permissions for access.
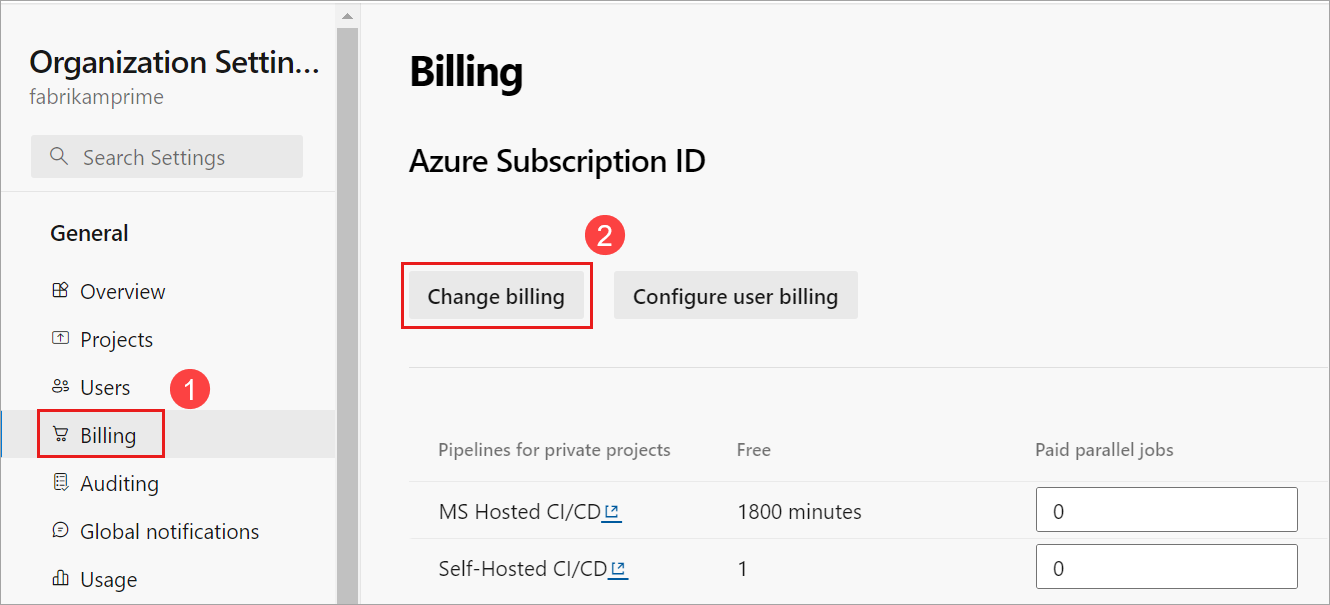
Choose your Azure subscription, and then select Save.
Azure DevOps bills the newly saved subscription for your organization.
Remove your billing subscription
Sign in to your organization, choose
Organization settings > Billing > Change billing, and do steps 1 through 4 of the Change the subscription section.Select Remove billing > Save.
Azure DevOps removes your billing subscription from your organization.
Give a user access to manage billing
Important
Classic admins retired August 31, 2024. You can't add a new coadministrator using the Access control. Remove coadministrators and use Azure role-based access control (RBAC) for fine-grained access control. For more information, see Azure classic subscription administrators.
Assign any of the following roles to a user under the subscription your organization uses for billing: Owner, Contributor, or Service admin. For more information, see Azure roles.
Sign in to the Azure portal as the Azure Account Administrator.
Enter subscriptions in the search box and select Subscriptions.
Select the subscription > Access control (IAM) > + Add.
Select the appropriate role from the dropdown menu.

Select + Select members, search for a user by name or email address, highlight the user, and then choose Select.

Select Review + assign.
Note
The user must accept their email invitation before they can access the Azure subscription, if they aren't in your directory.