Introduction
Automated workflow processes have an important role in the success of your businesses, and if a workflow fails, it is important that you receive immediate notification. Consider an inventory system that has a workflow running to automatically update the network data as items are added and removed. If this workflow fails, your asset information in the database is incorrect and could disrupt your daily business transactions.
The SharePoint actions in Microsoft Power Automate have settings that you can use to improve the workflow process and error handling.
Basic concepts
SharePoint and the approval connectors are the most commonly used connectors in Power Automate. With SharePoint, you can choose from several ways to make a flow including:
Start from blank
Start from a template
Start from a connector
Start from blank lets you create a custom flow to meet your requirements, and you can use triggers such as:
| Flow type | Description |
|---|---|
| Automated | Create an automation that is triggered by an event |
| Instant | Start an automation with a click of a button |
| Scheduled | Schedule an automation such as daily data upload |
| Desktop | Flows are used to automate tasks on the Web or the desktop |
| Describe it to design it | AI helps you build the flow via natural language inputs |
Start from a template gives you the flexibility to use an existing flow that is similar to your requirement. Changes usually include text or user information.
Connectors are the services that you use every day, and with the Start from a connector method, you can link them together to automate tasks.
Key features and capabilities
Right-clicking on an action will provide you with key features and capabilities. As well as selecting the action and choosing the (...) ellipsis in the top right of the action pop out window.

Copy action - This action allows you to duplicate an action inside of your flow by copying and pasting it.
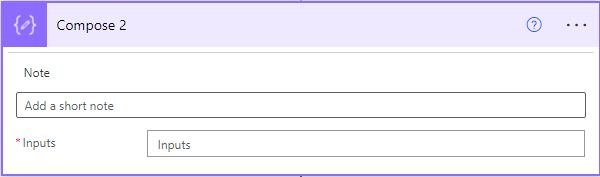
Add a note - This feature allows you to add a note. Notes are used to help the flow makers remember the reason why this action or condition was added.
Settings - Other settings include Secure Inputs, Secure Outputs, Asynchronous Pattern, Automatic decompression, Timeout, Retry Policy, and Tracked Properties.
Run after - Occasionally, certain situations don't result exactly as you expected in your flow, which is where the Run after option helps. You can define any number of steps to run after the failure of an action.

Code view - Peek code gives you the flexibility to view the actions from a code perspective. Through this view, you can see details such as IDs, authentication types, and the links that are used to make API calls.
Delete Step - You can delete the current step that you are in. A dialog box will appear, confirming if you want to delete the step.


