Exercise - Create and run a Blazor Hybrid app
Let's start by creating our first Blazor web app.
This module uses Visual Studio 2022 for local development. After you complete this module, you can apply its concepts using a development environment like Visual Studio Code.
Requirements for .NET MAUI development
To create .NET MAUI apps with .NET 9, you need to install Visual Studio version 17.12 or newer with the following workload installed:
- .NET Multi-Platform App UI development
Additionally, if you want to build .NET MAUI Blazor apps, you must install the ASP.NET and web development workload.
See the documentation for a walkthrough of setup.
Development with Visual Studio Code
If you're developing on macOS or Linux, you'll need to install Visual Studio Code and the .NET MAUI Extension along with the .NET SDK and .NET MAUI Workload. See the documentation for a walkthrough of setup.
Create a new Blazor Hybrid app
In this module, we use Visual Studio 2022 to set up a Blazor Hybrid project.
In Visual Studio 2022, select File > New Project, or select Create a new project from the launcher.
In the search box at the top of the Create a new project dialog, enter .NET MAUI Blazor, select .NET MAUI Blazor Hybrid App, and select Next.

On the subsequent screen, name your project BlazorHybridApp and specify a location on your computer to store the project. Check the box next to Place solution and project in the same directory, then select Next.

On the Additional Information screen, select .NET 9.0 (Standard term support) in the Framework drop-down, then select Create.
This command creates a basic Blazor Hybrid project powered by .NET MAUI with all required files and pages.
You should now have access to these files, and your Solution Explorer in Visual Studio 2022 looks similar to the following example:

In this module, we use Visual Studio Code to set up a Blazor Hybrid project.
In Visual Studio Code, open the Explorer and select Create .NET Project .
Select .NET MAUI Blazor Hybrid App in the dropdown list.

Create a new folder in the pop-up named BlazorHybridApp and select Select Folder.
Name the project BlazorHybridApp and press Enter to confirm.
This creates a basic Blazor Hybrid project powered by .NET MAUI with all required files and pages.
You should now have access to these files and your solution explorer in Visual Studio Code looks similar to:

Blazor Hybrid with .NET MAUI project structure and startup
The project is a normal .NET MAUI project with some more Blazor related content.
Blazor project files
wwwroot: This folder includes static web assets Blazor uses, including HTML, CSS, JavaScript, and image files.
Components: This folder containers several subfolder and razor components for the app.
Layout: This folder contains shared Razor components, including the app's main layout and navigation menu.
Pages: This folder contains three Razor components—
Counter.razor,Home.razor, andWeather.razor—that define the three pages that make up the Blazor user interface._Imports.razor: This file defines namespaces that are imported into each Razor component.Routes.razor: The root Razor component for the app that sets up the Blazor router to handle page navigation within the web view.
.NET MAUI project files
App.xaml: This file defines the application resources that the app uses in the XAML layout. The default resources are located in the
Resourcesfolder and define app-wide colors and default styles for every built-in control of .NET MAUI.App.xaml.cs: The App.xaml file's code-behind. This file defines the App class. This class represents your application at runtime. The constructor in this class creates an initial window and assigns it to the
MainPageproperty; this property determines which page is displayed when the application starts running. Additionally, this class lets you override common platform-neutral application lifecycle event handlers. Events includeOnStart,OnResume, andOnSleep.MainPage.xaml: This file contains the user interface definition. The sample app the .NET MAUI Blazor App template generates comprises a
BlazorWebViewthat loads theComponents.Routescomponent in the specified host HTML page (wwwroot/index.html) at a location specified by the CSS selector (#app).<?xml version="1.0" encoding="utf-8" ?> <ContentPage xmlns="http://schemas.microsoft.com/dotnet/2021/maui" xmlns:x="http://schemas.microsoft.com/winfx/2009/xaml" xmlns:local="clr-namespace:BlazorHybridApp" x:Class="BlazorHybridApp.MainPage" BackgroundColor="{DynamicResource PageBackgroundColor}"> <BlazorWebView x:Name="blazorWebView" HostPage="wwwroot/index.html"> <BlazorWebView.RootComponents> <RootComponent Selector="#app" ComponentType="{x:Type local:Components.Routes}" /> </BlazorWebView.RootComponents> </BlazorWebView> </ContentPage>MainPage.xaml.cs: The page's code-behind. In this file, you define the logic for the various event handlers and other actions the .NET MAUI controls on the page trigger. The example code in the template only has the default constructor as all of the user interface and events are located in the Blazor components.
namespace BlazorHybridApp; public partial class MainPage : ContentPage { public MainPage() { InitializeComponent(); } }MauiProgram.cs: Each native platform has a different starting point that creates and initializes the application. You can find this code under the Platforms folder in the project. This code is platform-specific, but at the end it calls the
CreateMauiAppmethod of the staticMauiProgramclass. You use theCreateMauiAppmethod to configure the application by creating an app builder object. At a minimum, you need to specify which class describes your application. You can do this with theUseMauiAppgeneric method of the app builder object; the type parameter specifies the application class. The app builder also provides methods for tasks such as registering fonts, configuring services for dependency injection, registering custom handlers for controls, and more. The following code shows an example of using the app builder to register a font, register the weather service, and add support for Blazor Hybrid with theAddMauiBlazorWebViewmethod:using Microsoft.AspNetCore.Components.WebView.Maui; using BlazorHybridApp.Data; namespace BlazorHybridApp; public static class MauiProgram { public static MauiApp CreateMauiApp() { var builder = MauiApp.CreateBuilder(); builder .UseMauiApp<App>() .ConfigureFonts(fonts => { fonts.AddFont("OpenSans-Regular.ttf", "OpenSansRegular"); }); builder.Services.AddMauiBlazorWebView(); #if DEBUG builder.Services.AddBlazorWebViewDeveloperTools(); builder.Logging.AddDebug(); #endif return builder.Build(); } }
Run the app
In Visual Studio, select Debug > Start Debugging
In Visual Studio Code, select the Run > Start Debugging. Select the .NET MAUI debugger from the dropdown list to start the application.
This builds and starts the app on Windows, and then rebuilds and restarts the app whenever you make code changes. The app should automatically open on Windows. You can also change the deployment target through the debug drop-down menu to deploy to Android or other platforms.
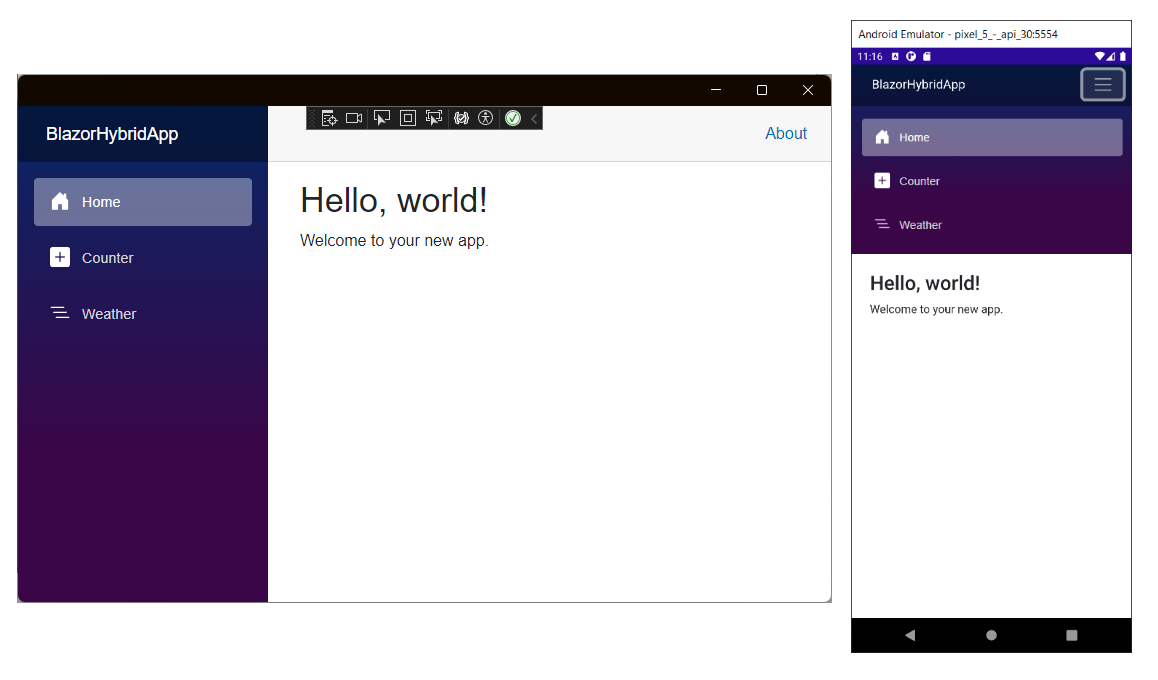
You use this Blazor Hybrid app in the next few exercises.